Having a dual battery system in your car allows you to run other accessories like a refrigerator, TV or almost anything other household device. There are several different ways you can set up your battery system. It all varies on what you will be doing with your batteries, how much storage your batteries have, and what devices you will be powering.
I also suggest installing a battery isolator so that you can charge your accessory batteries from the starting battery of your vehicle. And if you get a VSR or Voltage Sensitive Relay, then you can ensure that your starting battery won’t be drained by your accessory batteries.
Materials Needed
You will need to get a 12 volt RV/Marine deep cycle battery, a power inverter, and a VSR or Voltage Sensitive Relay wiring kit. You can also use 6 volt golf cart batteries but you would need to buy them in pairs. If you wire two 6 volt batteries in series their voltage doubles and their amperage stays the same. Making two 6 volt batteries into one 12 volt battery bank.
Of course there’s some other things you’ll need here and there depending on what system you set up for yourself. Like extra cables or battery terminal ends, and some basic tools like a wrench and screwdriver. If you’ll need to be running wire through any parts of your car or RV’s body you’ll also need a drill with a drill bit that can cut through metal.
Sizing Your Battery System
If you’re starting out small I would get a 100 amp hour 12-volt deep cycle battery. 100 amp hours, when put simply, means that it can run 1 amp for 100 hours on a full charge. This size battery will be able to easily run some lights and a small fan and charge phones and maybe a laptop, but not much more than that. If you will be running large devices or anything that takes a lot of power you might want to upgrade your batteries.
Using Multiple Batteries
If you’re using 12 volt batteries you’ll need to wire any additional batteries in parallel. Which means that you connect the positive terminals of the batteries to each other and both negative terminals of the batteries to each other. This will double your amperage while keeping the voltage the same.
So, if you get two 100 amp hour batteries and wire them in parallel you should get 200 amp hours out of your batteries. But their voltage will stay at 12. If you’ll be wiring anything directly to your battery system and you have multiple batteries then you connect the positive cable to the positive terminal of the first battery. And the negative will connect to the negative terminal of the last battery in your battery system.
Some people opt for using in 6 volt golf cart batteries instead of 12-volt deep cycle batteries for their smaller size and ability to deal with the rough roads of travel. 6 volt golf cart batteries usually have a higher amp hour rating. But you need your battery system to be 12 volts. So you’ll need to wire two 6 volt batteries in series to double their voltage to 12 volts. This means that you have to buy two 6 volt batteries at a time. If you buy another pair of 6 volt batteries and you connect the two new batteries together in series then connect both new battery banks together in parallel.
Say you have 6 volt batteries with two hundred amp hours and you wire two together in series. Their new voltage would be 12 and their amp hours would stay at 200. Now say you took two more 6 volt batteries and wired them together in series as well. If you wire both of these new battery systems together in parallel you’ll now have four hundred amp hours and still have your voltage at 12.
Power Inverters
Once you have your battery setup it’s time to set up your power inverter. Batteries use DC power, where most household appliances use AC power. DC power is what you would normally find in your car, where you plug into a cigarette lighter port. Where AC is your traditional plug that you would see in a house.
There are two different types of power inverters, modified sine wave and pure sine wave. Modified sine wave inverters are usually good for basic non-computerized accessories. Where a pure sine wave inverter can be used to power anything, even delicate devices like a laptop. However pure sine wave inverters can be quite a bit more costly.
Sizing Up Your Power Inverter
When purchasing a power inverter they will be labeled with the wattage that they support. There are usually two numbers for inverters. The regular amount of wattage that they can handle is the first number. While the second number is its surge power.
There is a formula you can use so you can figure out how many watts all of your devices will be using. And then you can get a power inverter that is rounded up from that amount of wattage. For example if all of your devices will be pulling 1250 Watts then you should probably at least get a 1500 watt power inverter. But if you’ll ever be plugging in more devices in the future (which you probably will) then I would go for at least a 2000 watt power inverter in this scenario.
Wiring Your Power Inverter
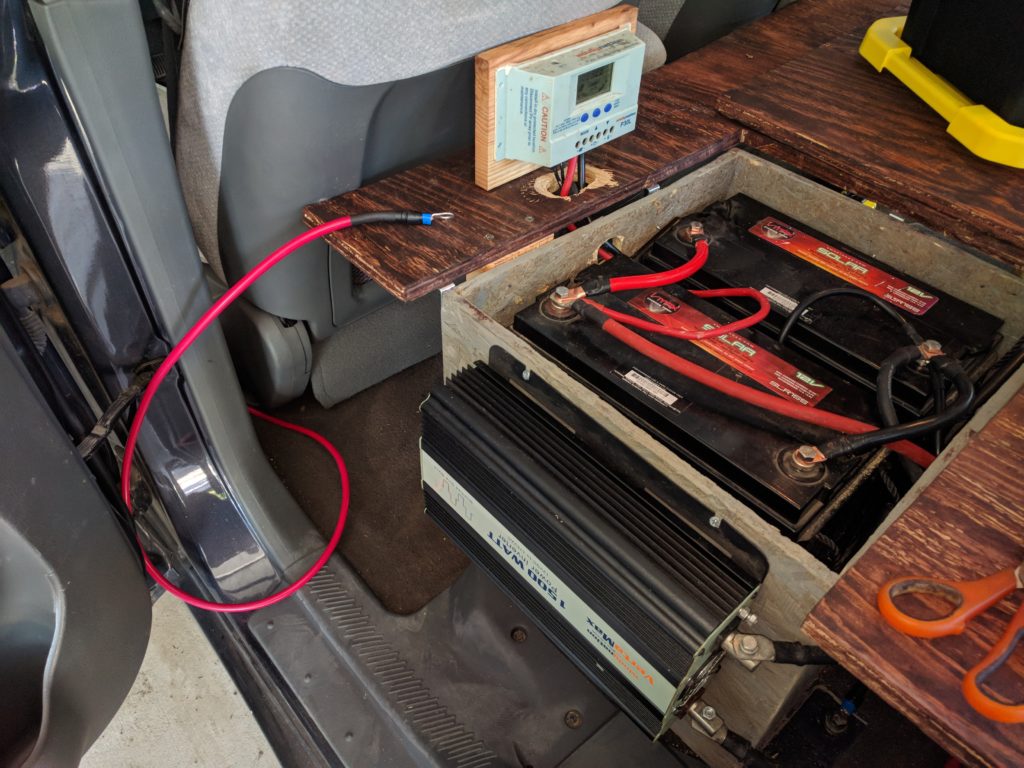
Wiring a power inverter is fairly simple. There are two posts on the back, a positive and a negative. You wire the positive terminal of the inverter to the positive terminal of your batteries. And the negative terminal of the inverter to the negative terminal of your batteries. Be sure you use the appropriate gauge wire for your specific setup.
Some inverters also have a small knob on the back that is for a ground. If you run a small wire from this post to a bolt on the frame of your chassis then this will complete the ground. Just make sure that there is no paint were you have connected the ground. If you do not have completely bare metal on your ground it will not be a secure connection and could prevent your system from working correctly or at all. All you have to do is use a wire brush on a drill and brush away any rust and paint. Then reconnect your ground.
If you keep your inverter powered on at all times it will draw a small amount of power from your batteries. It’s not much but if you’re low on battery space it’s something to think about.
Charging Your Batteries
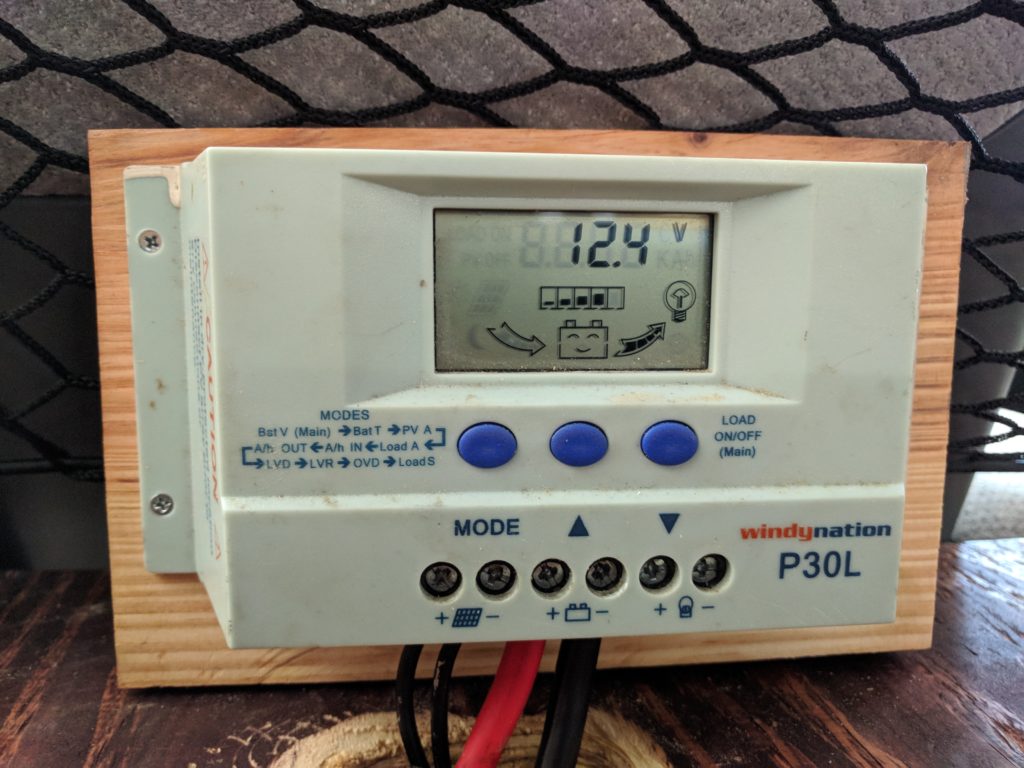
You could connect solar panels and a charge controller to your battery system. Harnessing the power of the sun and keeping your battery charged as long as there isn’t any excessive cloudy weather or storms. This is a more expensive option then just wiring up your battery system to your starting battery in your vehicle with a VSR.
You shouldn’t just wire your battery system up directly to your starting battery though. If you do and you leave a device on too long while your vehicle is turned off there’s a possibility you could kill your starter battery and need a jump start. And if you’re boondocking in the middle of nowhere this could be a real problem. But you can always use a VSR and solar panels to both charge your batteries. That way, if there is a long period of inconvenient weather, you can still charge your batteries by just turning on your vehicle.
Voltage Sensitive Relays
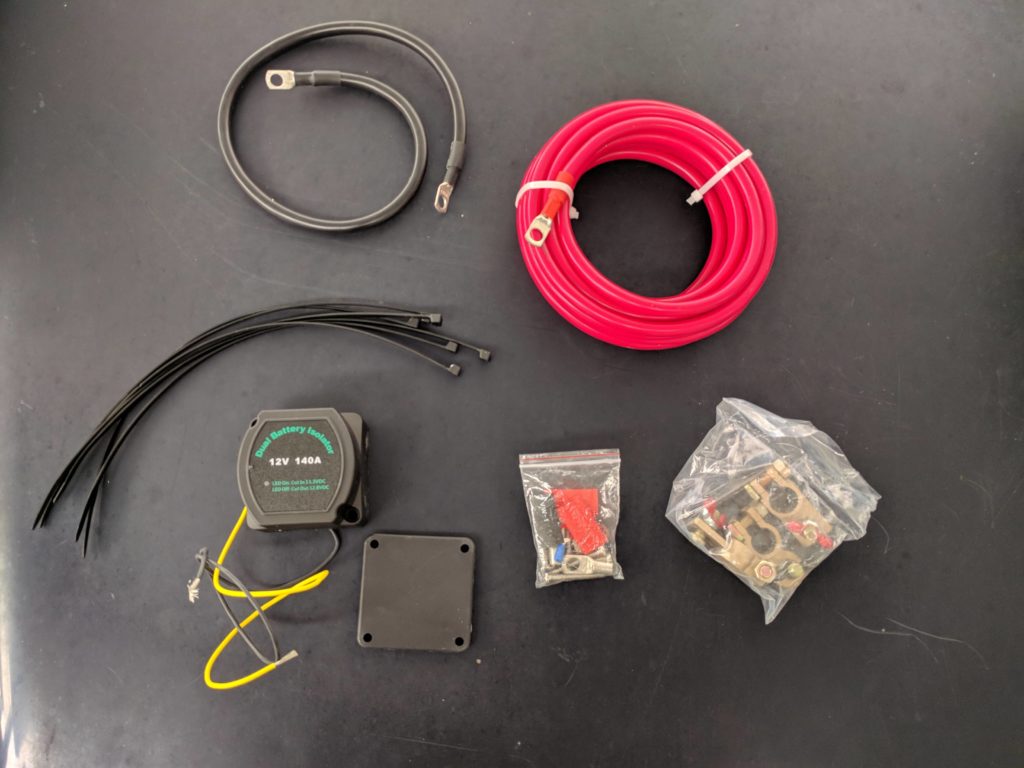
A VSR detects when your starter battery is fully charged. Once the starter battery is charged, it connects your starter battery to your accessory batteries. Harnessing the power of your vehicles alternator to charge all of your batteries. A VSR also detects when the battery has been fully charged. And it stops the power to prevent overcharging of your accessory batteries.
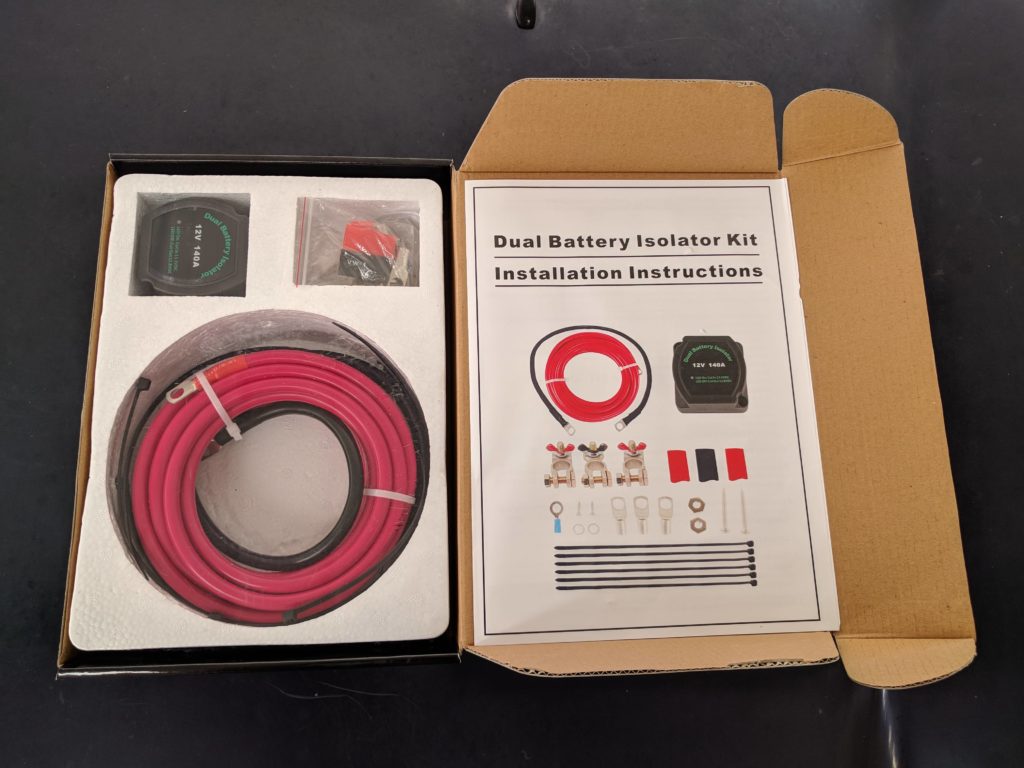
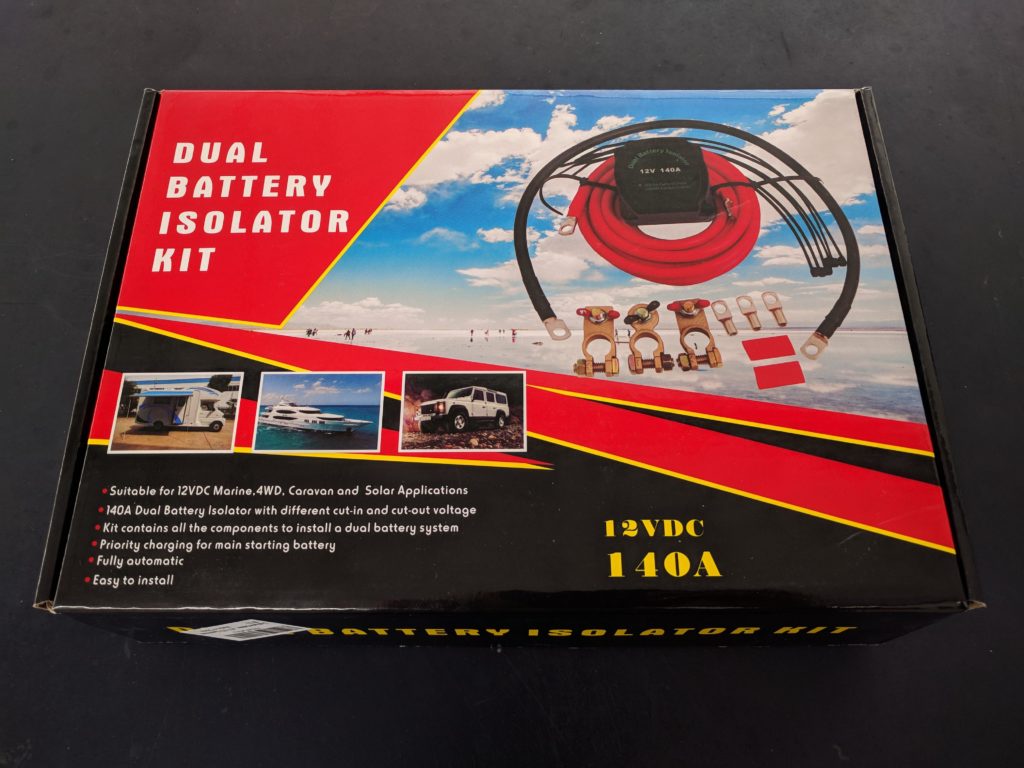
I got a VSR kit on Amazon that came with everything I needed. It turns on when my starter battery has reached 12.4 volts. And turns off when the accessory batteries have hit 13.8 volts. There’s even an option for wiring in a override switch that disregards the voltage of the batteries. This way if your starter battery does die for some reason, you can jump start it using your accessory batteries.
How to Install a VSR
Your VSR should come with a instruction manual and wiring diagram. But just in case here’s how you wire one up. First you disconnect the negative terminal of your starter battery to isolate it. Then you need to mount your VSR in a place under the hood that is not near any moving parts or exhaust pipes. Usually a VSR comes with a mounting plate. Once you have mounted the plate to your vehicle it’s time to start running wires. You need to run one cable of your VSR to your starting battery’s positive terminal. And another cable from the VSR to your accessory battery’s positive terminal.
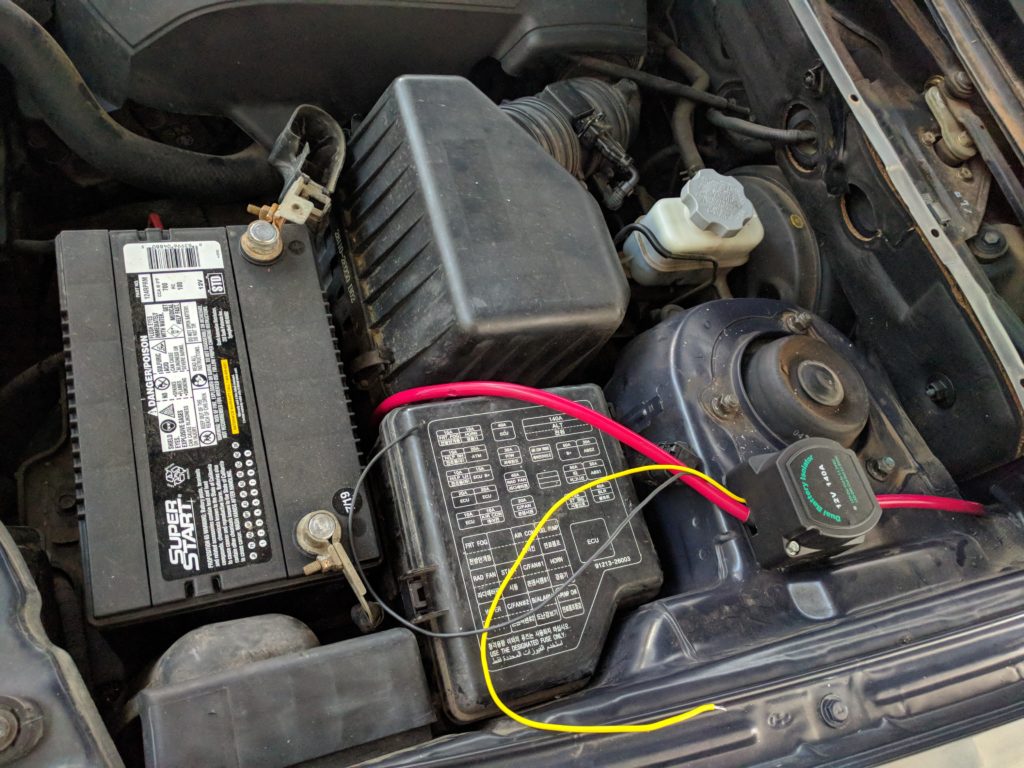
There is a small black wire coming out of the VSR that is for a ground. Put a small ring terminal on the end of this wire and connect it to a bolt on your vehicle’s chassis. Make sure that is a bare metal connection and there is no paint. If there is, use a wire brush to clean it off to secure the ground. You also need to run a ground wire from the negative terminal of your accessory battery to the chassis of your vehicle. If you do not ground your accessory batteries the VSR will not work.
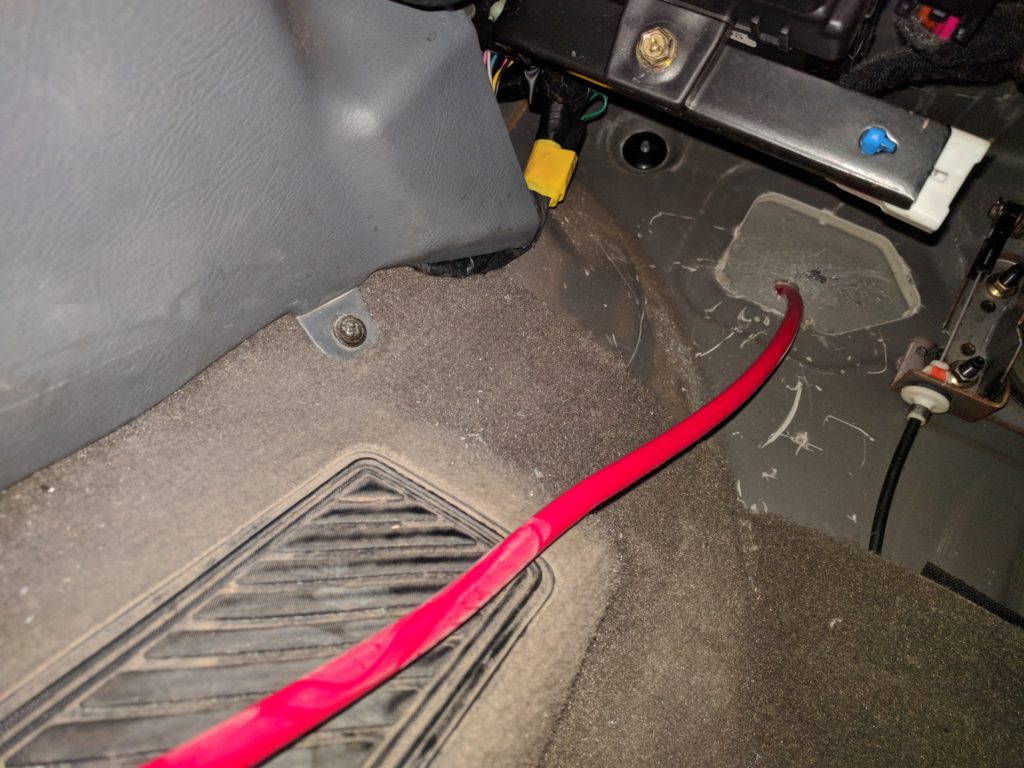
Lastly you need to reconnect the negative terminal of your starter battery. Once you turn this you need to use a voltmeter to make sure everything is working properly. With your vehicle turned off tester starting battery to make sure it is fully charged. Switch your voltmeter to DC voltage and place the red wire on the positive terminal and the black wire on the negative terminal. You should get a readout around 12 volts.
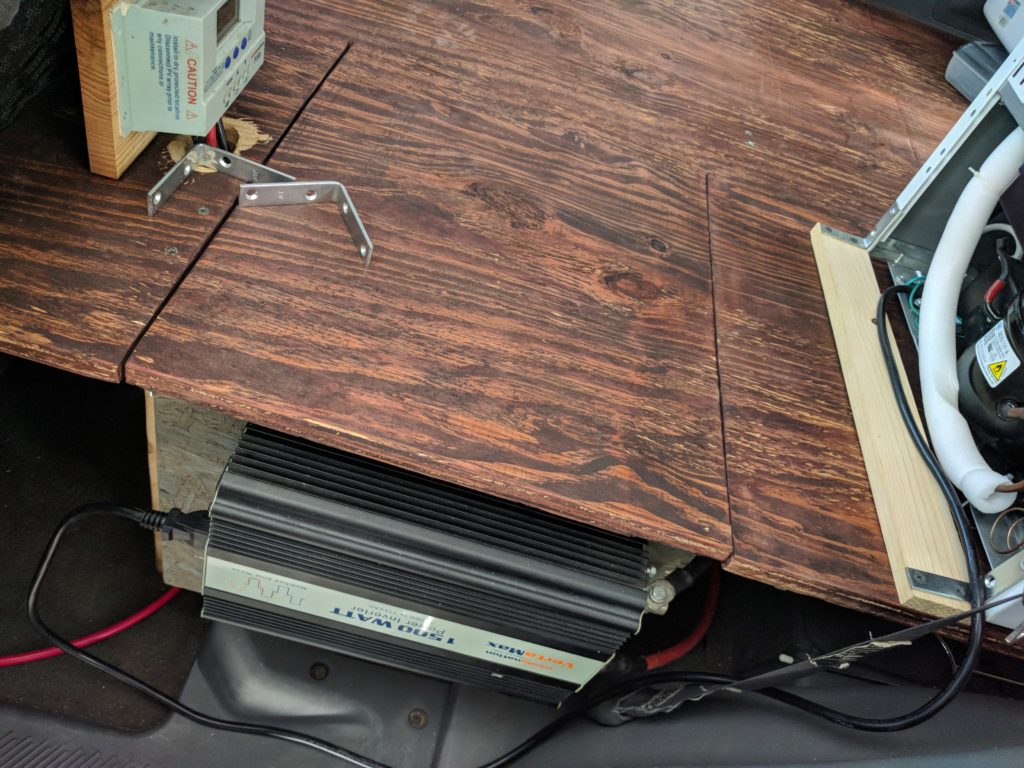
Next, you need to check your accessory battery’s voltage the same way. On your accessory batteries you also need to check your ground. Place the red wire from your voltmeter to the positive terminal of your battery and the black wire to your ground connection at the chassis or any other bear metal part of your vehicle. The voltage when checking the ground should be the same as when you checked the accessory battery on its positive and negative terminal. If it does not read out the same number then your ground is not connected properly.
Testing Your System
Once you have tested your batteries voltage it’s time to start your vehicle. And make sure your VSR is working properly. There should be an indicator light on the VSR. The light will come on when it is sending power to your accessory batteries. And turns off when they are fully charged or your starter battery is too low. Of course each device is different. Check your specific openers manual for your VSR to see if you’re has indicator lights built in.
Once your vehicle is turned on, you need to test your accessory battery’s voltage. The voltage will raise almost immediately once the vehicle is turned on. And it should stop raising at whatever your VSR is set to. Usually the max voltage is around 14 volts. You should also check your starter battery’s voltage. Make sure that it is the same as your accessory batteries while the vehicle is turned on.
Plug Up and Hit the Road!
Now you should have everything completed and working properly. It’s time to plug in your devices in your inverter and get on the road! Keep an eye on your system and make sure your batteries never drop too low in voltage. This is easier to do if you get a simple device that you can plug to your batteries. There are devices that give you a voltage readout on a digital display.


