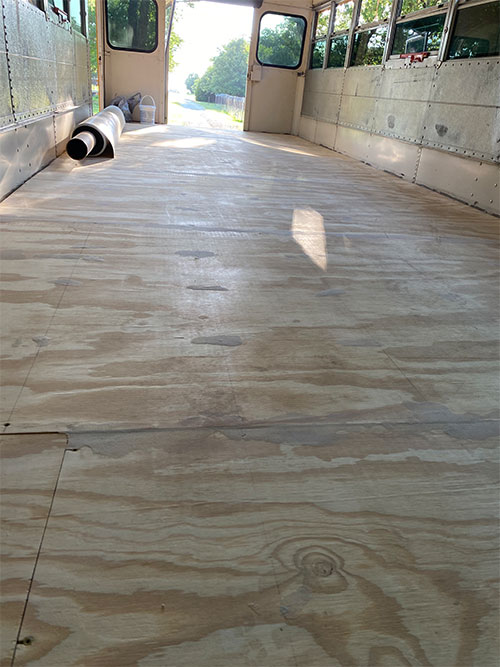
You’ve finally gotten the seats out of your school bus and have put some blood, sweat and maybe even a few tears into your hard work. Now, you want to know how to install the flooring in your school bus conversion. But before you go gluing down floor planks to your bus let’s look at how to put in a sub-flooring and what type of flooring works best for a skoolie.
Skoolie Sub-Flooring
First off, what is sub-flooring when it comes to a school bus conversion? Well, a sub floor is just something that goes onto the bare metal on the inside of your bus that will lay underneath your actual flooring. There are several different ways to go about building a sub floor, but like most things in a school bus conversion, it’s really dependent on your specific needs.

If you know you’ll be traveling through or staying in areas that will drop to very cold temperatures in the future. Then you’ll want to prepare when you’re still building your bus. You might want to add a moisture barrier and some thick insulation to your sub floor to ensure that there are no temperature leaks. You can do this by building a frame around the inside of your bus. Then by attaching some boards inside to make studs. After that, cut your insulation to fit into the space left between your boards.
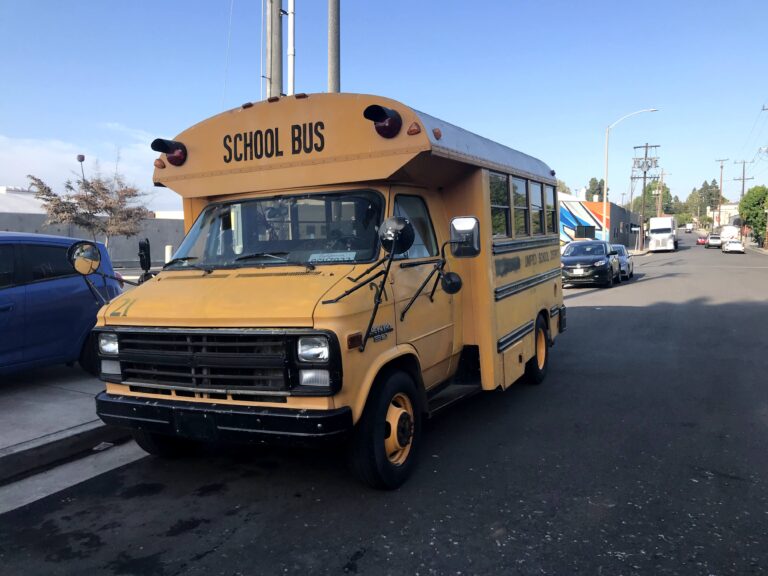
For my specific skoolie build, I ended up having to make a trade off. I knew I wanted to travel to some cold regions of the United States (Alaska being at the top of my list of places to go!). But, I’m over 6 feet tall and the inside of my short bus was right at my height. And that was before I put my flooring in.. I was worried that by putting in 2×4 boards and insulation that I would sacrifice too much vertical space. Leaving me to squat down when walking around the bus and making it just a less comfortable experience.
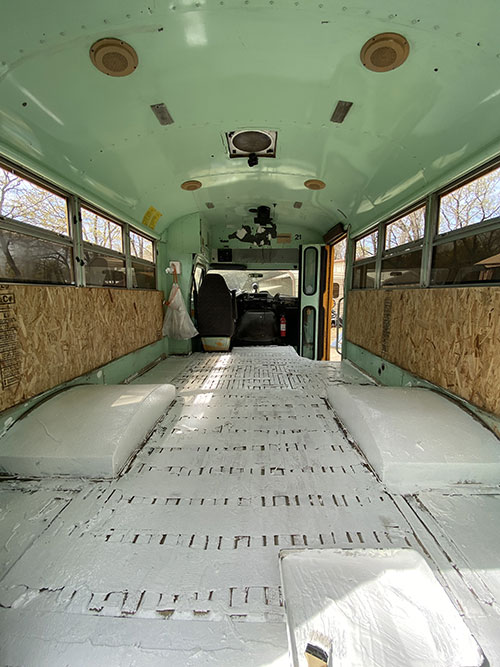
So, I made up my own sub flooring to keep my floors as insulated as I possibly could without sacrificing any (noticeable) vertical space. First, I patched and filled all of the little holes around the floor that were left from the bus passenger seats. Next, I put strips of cork in the ridges of the metal on the bus floor to help create a more even surface. Some busses don’t have ridges on the main floor. This is something to look for if you haven’t purchased your vehicle yet.
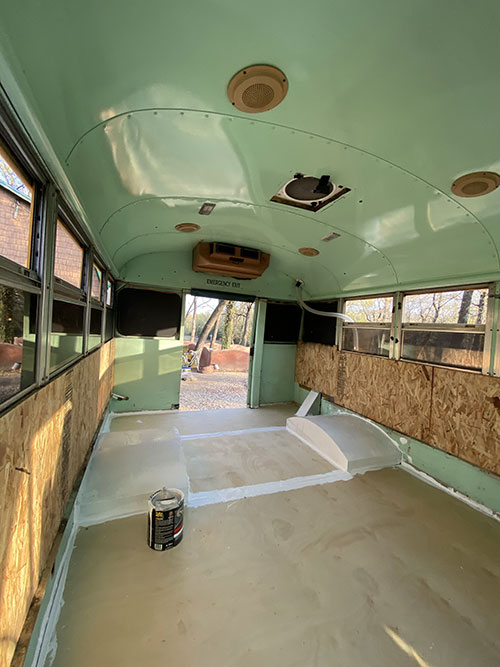
Then, I covered the entire floor and wheel wells with a whole gallon of Flex Seal Paint. Flex Seal paint, is just a brand of rubberized paint that fills in all the little holes and keeps them water tight. After that, I glued down some 1/4 inch plywood pieces and sealed the seams with more Flex Seal. Then it was ready for the flooring to be installed, and I only lost less than 1/2 inch in height including my sub floor and flooring combined!
What Type of Flooring Works Best for Skoolies?
When you’re at one of your what-seems-to-never-end visits to the hardware store there’s tons to think about. You might have taken a look at the flooring section at one point and been overwhelmed with the amount of choices there are. Vinyl, Laminate, Hardwood, Tile, which one is the right one to use? Well, first off, it’s your home and there are no wrong choices. But here’s some info to help you decide which is best for your build.

Tile flooring for Skoolies
The hardest flooring to work with in a skoolie (or any moving vehicle) is tile flooring. Tile does best on a solid surface that never moves, otherwise it will sag and move over time. This makes tile a tough choice for a home that’s whole purpose is to be mobile.. But that doesn’t mean it’s impossible.
You can have a section of your floor that is tile, or maybe just one area or room that has tile, like a bathroom. But it would be a real nightmare (and a ton of extra weight!) to install all tile flooring. Although, I do like the look of tile accents on the entry stairwell of a skoolie. And some people will not travel as much as others. If you like to stay extended periods in each of your destinations, and you don’t really mind the extra weight and fuel costs, then maybe tile floors would work for you!

Vinyl / Laminate Sheet flooring for Skoolies
Laminate or vinyl sheets are a great choice for flooring for a bus conversion! It’s sturdy, resilient and is simple to install if you get the snap-board style. But it can be quite thick and may end up using too much of your vertical space depending on what type of subfloor you chose and how much space you have to work with. And being so thick it is susceptible to cracking when your bus is on the move on rough back-country roads.
Vinyl Snap Board Plank flooring for Skoolies
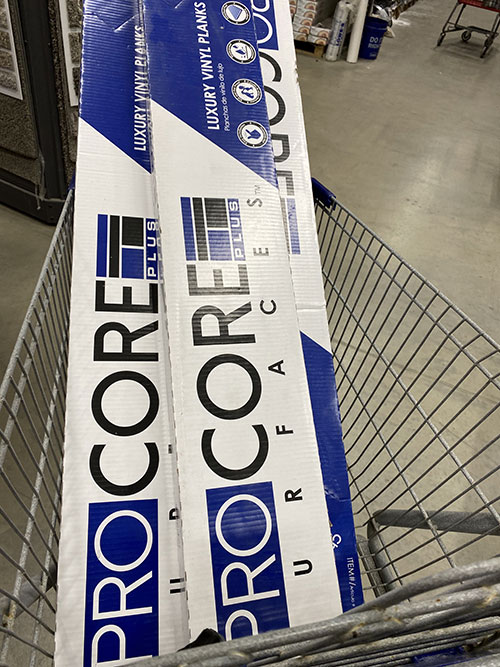
Vinyl snap boards come in several different thicknesses, very flexible, and it is the go to choice for any portable home. This flooring does a good job of mimicking the look of real hardwood floors without coming with the added cost and weight. And with it being so flexible it is sure to withstand the bumps and bruises of the open road. The snap-board style makes it simple to use and it can even be cut with a box cutter. Making it a very easy DIY project for even the most novice of “construction workers” and require less power tools. In my first skoolie build I used 5mm waterproof snap board vinyl flooring.
My first skoolie build and even my first rebuild on my RV, I used vinyl planks for the flooring. The only complaint I had was no matter how hard I tried I could never get every single board to completely snap together because of the floating aspect of the flooring. Around the front stairwell entrance and the back door, it just dropped off and had nothing to hold it into place. With my frequent visits to the beach sand was inevitable.. The tiny sand particles ended up shoving their way in between my snap boards over time. And eventually I did have to make some repairs to my vinyl floors in both of those vehicle builds.
Hardwood Flooring for skoolies
Hardwood floors can be a very nice addition to a school bus conversion. But it comes with one very big cost.. it can get extremely heavy even in a small amount of space. Not only that, but it can cost a lot higher per square foot than the other flooring choices. The installation process is a little more detailed than the vinyl or laminate snap boards too. And you’ll have to have a much more stable sub flooring to attach the flooring to. But if you can do it and want to, by all means you do you!
Installation Tips
Each type of flooring and even each brand has different methods on how to install it “correctly”. Unfortunately, the directions for your flooring aren’t written for a school bus conversion! Here’s a few tips that I learned while building my home on wheels to hep you install your flooring in your school bus conversion.
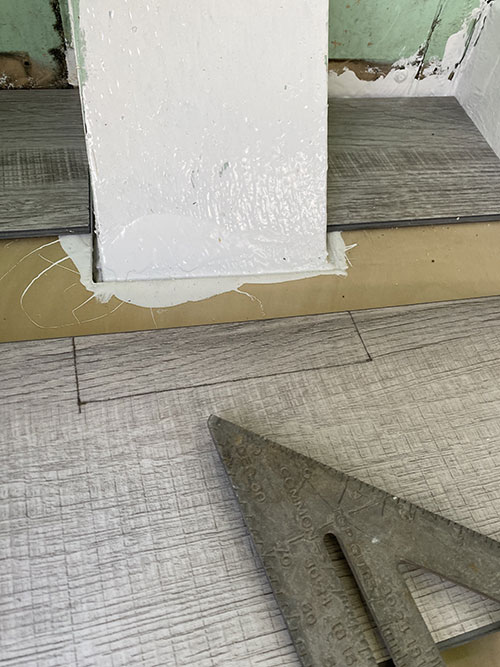
Start With The Most Difficult Corner First
When you are getting ready to start putting in floor boards, start at the corner of your bus that has the most intricate cuts needed. When you do that, you get that hardest part out of the way. It also helps hold in that corner while you do the rest of your flooring. That way you aren’t scrambling at the end to get some intricate pieces cut and squeezed into place.
Skoolie Flooring is Not Going to be Perfect (And That’s OK!)
School busses weren’t built to be homes, they are driven hard every day and hauling around rowdy kids in them at the same time. Therefore, the walls, floors, ceiling, and every corner of your bus is not going to be straight. It really makes for an interesting construction project! Even if you’re a professional contractor, you’re going to have a difficult time building your school bus conversion. But that’s ok. It doesn’t have to be perfect, and it probably won’t be. But what it will be, is a home that you built for yourself. A place that will take you to the corners of the world you’ve never seen before. A place that is yours and you can call home.
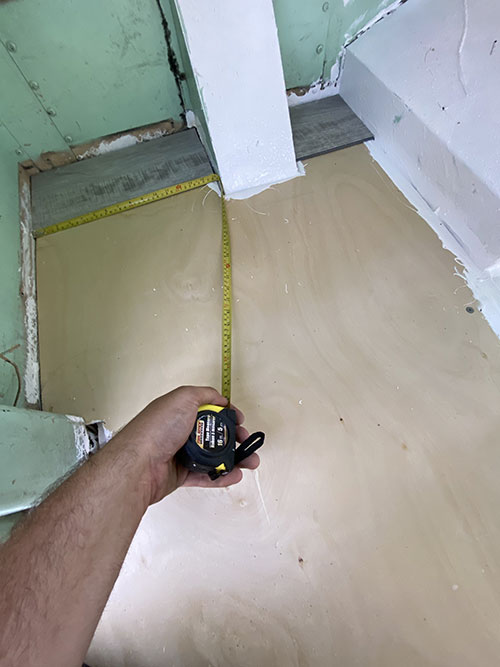
Measure twice, Maybe Three Times… Then Cut!
Remember, nothing is straight in a bus.. Nothing. The metal warps and bends over time, even when they are building the bus originally it wasn’t built perfectly straight! So, when you are taking measurements for your flooring be sure to measure multiple times before you make a cut! And be sure to measure all the way down a board before cutting as well. You may will have a piece or two of flooring that needs to be cut at an angle to be able to fit right.
Try not to use a box cutter (if you can)
If you get vinyl or other thin flooring, the instructions might say to just score and cut your boards with a basic box cutter. While this could very well work, it is a time consuming and tedious process. Not only that, but it can be a real pain trying to get a box cutter to cut a 3 foot straight line across vinyl that has grooves carved into it. EVERY time I would try to use a box cutter it would catch one of those fake wood grooves and stray off the line I was trying to cut.
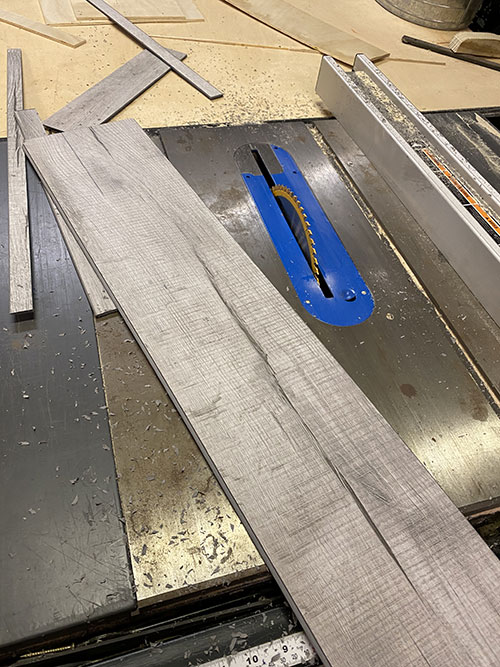
I have had great luck using a jig saw for any more intricate cuts around my bus. And a chop saw, and table saw for any longer straight cuts. Just be sure to have a fine toothed blade meant for smooth scroll cut wood on your saws to make the smoothest cut possible. If you don’t have access to these tools when putting your flooring in your skoolie, don’t worry. The box cutter method does work, it’s just not my ideal choice for cutting flooring.