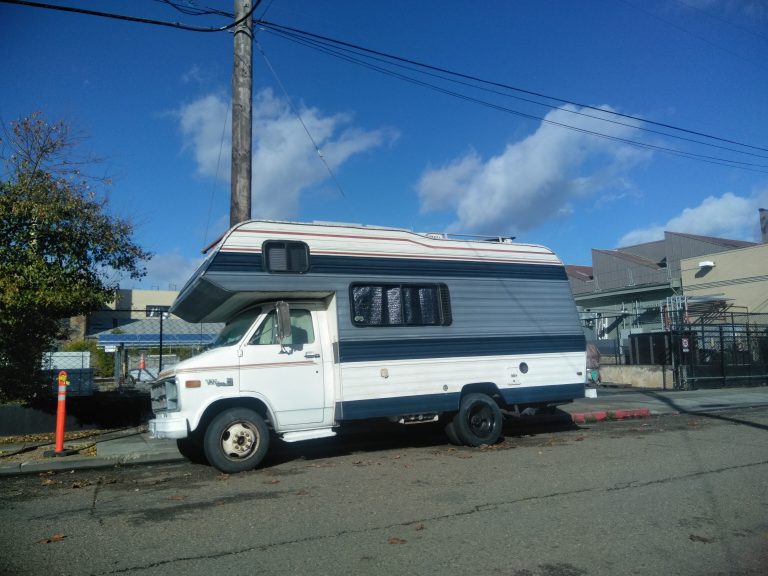
When you first get to your campsite with your RV it takes a little bit of time to set up your site, especially if you are newer to camping at RV campsites. Once you get used to these steps it will become a breeze! I can completely set up my campsites now in less than an hour. But when first started camping in my RV it would sometimes take me seemingly forever to get everything set up right. Everyone sets up their site differently but, this is how to set up at an RV Campsite quick and efficiently.
Level your Rig
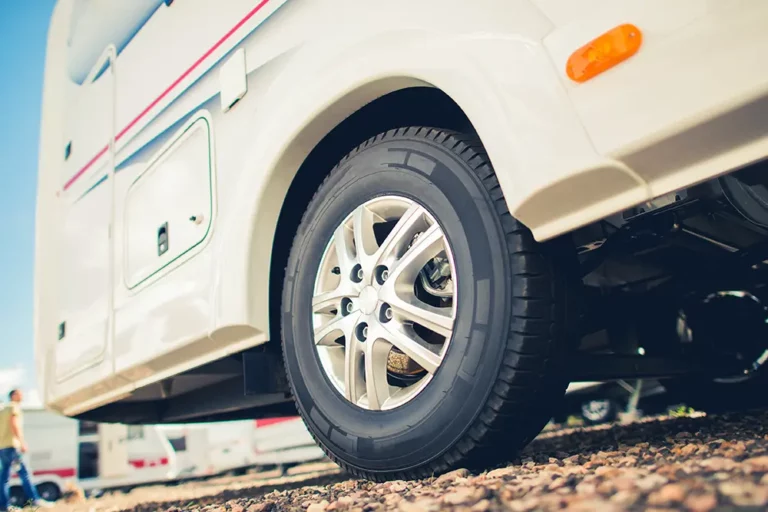
Most campsites are pretty level but you never know what you’re going to get until you get there. I use Lynx Leveling Blocks to keep my RV nice and level. You can also just use wooden blocks but I like the Lynx Leveler Blocks because they lock securely into each other, and they are brightly colored so I don’t lose them. Where as wood blocks blend in to the nature and can slip and slide on each other, especially if it’s rainy or wet. When you place your leveling blocks, place them in front of the wheels and pull your RV forward onto them. It’s a lot easier to pull forward on the block instead of backwards.
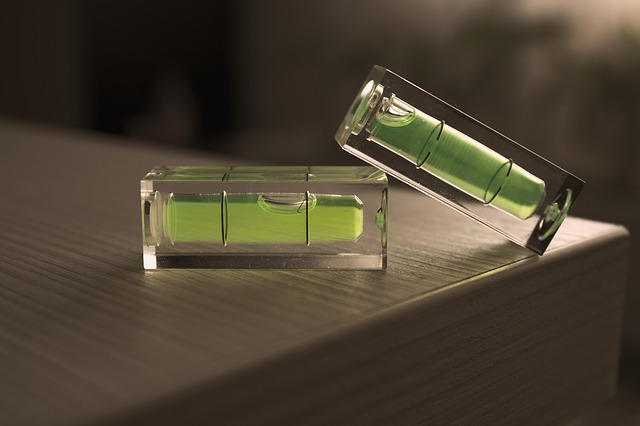
I also like to use a free level app on my phone to be able to test the level at different locations throughout my RV. Plus having an app saves space compared to having to bring a level. You can also attach levels to different areas around your RV. I don’t like doing this though because I just don’t like the way it looks. But some people like to not have to rely on their phone’s too much and it’s easier that way. It takes a few tries but after a few changes of the blocks you’ll have your RV level and one step closer to relaxing!
Set you Wheel Chocks
Adding wheel chocks add an extra layer of safety and help secure you RV in place. If you’re camping on hills or near cliffs then having your wheel chocks in place really help relieve any worries about rolling away. Now, I’ve never known any one that’s had their rig roll away, but I wouldn’t want to be the first!
Stabilize with your Jacks
Stabilizing your RV helps prevent any sway when someone walks through the rig, or literately moves at all. If you use stabilizer jacks then the sway won’t be so prevalent and it will help make your RV feel a bit more like home.
Place the stabilizer jacks under neath your RV chassis, and use blocks of wood underneath them if there is any mud. Then you just lift the jacks until it secures your RV in place and it feels stable inside. You can do this by hand with the handle they come with but this is tedious and time consuming. I like to use a drill attachment that I can use to quickly set up my stabilizing jacks. They don’t cost much and save so much time and energy. Of course, you’ll need to make sure to bring a drill!
Locate Sewer Connections and Hook Up
There is no uniformity to campsites the sewer connection could be anywhere on your site. If you don’t have an extension hose then you really need to make sure you have enough room to reach the connection. Also make sure you can still access your doors because sometimes there could be picnic tables or other obstructions in the way. Some campsites don’t have sewer connections at each individual campsite. Instead they have one near the entrance or exit that you’ll have to drive to. Or, sometimes, they don’t have any sewer connections at all. In this case there are usually ones nearby campsites or at some truck stops.
Some campsites require that you bring a sewer hose donut. A sewer hose donut is a rubber ring that prevents any leakage and odors from the septic tank. Make sure to check with your campsite ahead of time or just have one on hand, to always be prepared. It’s also nice to bring a sewer hose support. A sewer hose support helps create an even downhill flow and prevent any sewage from pooling up in the hose. It’s not a necessity but it does make things a little nicer and cleaner.
Locate and Hook Up Power
Similar to to sewer connections the power connections could be located in varying areas of your campsite. Usually your RV power cord is pretty long and can reach most anywhere on your site. But you want to make sure it will reach before you park your RV in place.
RVs come with either 50 amp or 30 amp power connections. But campsites could have either connection available and sometimes only have one and not the other. You can call ahead and see what connections your site has available. But if you’ll be going to several different campsites and want to make sure you have power no matter what connection they have, then you need to get a “Dog Bone”. A dog bone is a power adapter that converts a 50 amp to a 30 amp or vise versa. They are called a dog bone because.. well, they look like a big dog bone!
If you have a 50 amp connection and there are only hookups for 30 amps, then you won’t be able to use all of the power you may be used to with a 50 amp connection. Obviously 30 amps is not as many as 50 so there will be some set backs. You may not be able to use your air conditioner, or if you have two maybe you’ll only be able to run one at a time. If you have any major appliances on your rig, then you may not be able to use the more powerful ones.
Having a surge protector helps keep your RV’s power safe and protects from any power spikes. A lot of older campsites don’t have very reliable power especially in bad weather conditions. I always use a Surge Guard to protect my RV, even when connecting to a residential power connection.
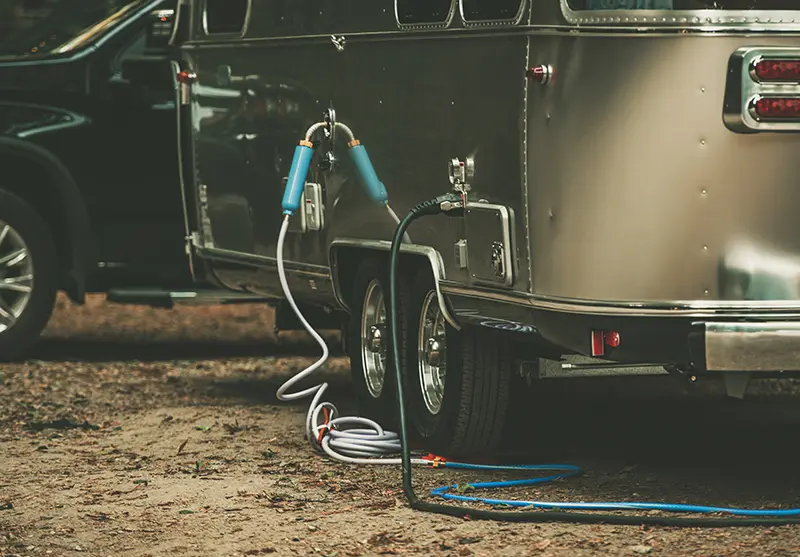
Locate and Hook up Water
Locate where the water connection is and make sure you have enough hose to reach. Always use drinking hose to hook up your water. It’s usually white in color and it’s made of safe materials that won’t infect your water with harmful chemicals. Don’t use a garden hose for your water connection. When a regular garden hose sits in the sun it releases chemicals from the rubber into the water that’s not safe to drink.
You might also need a pressure regulator, and some campsites even require them. If you don’t use one and the water pressure is too high at your campsite it could damage the pipes in your RV, possibly causing leaks and water damage. A pressure regulator is cheap and worth saving you from possible irreparable water damage. The regulator attaches to the end of the hose before you attach it to your city water connection on your RV.
When you put the regulator on use “plumber’s tape”, or Teflon Tape to prevent any leaks. When you add the tape to the hose, wrap it around the male end of the hose going along with the grooves about 5-7 times. This helps keep it from tearing when screwing in the connection and creating a proper seal that won’t leak.
You’ll also need a water filter if you’re going to be drinking the water or cooking with it. I always have a few stored away in my RV in case one goes out or I have an extended trip and use a lot of water. You can get RV specific drinking hose water filters. They connect to your drinking hose. I usually attach mine to my pressure regulator having the water filtered closest to my RV. Make sure to apply teflon tape to any and all hose connections to prevent leaks. And some water filters even come with a small lead with a spring around it. These help take pressure away from pulling down on the filter and straining any connections.
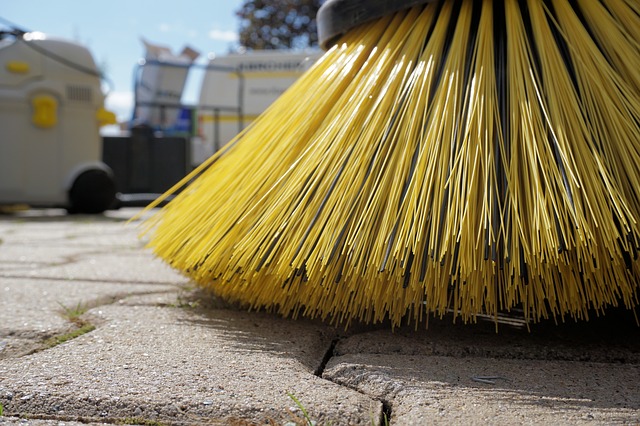
Clear Area Around Door Step and RV
There are a lot of injuries that occur just as people are stepping out of their RV. This is cause by obstructions in the way after you step out like rocks and large sticks. Or by not having any light at your doorstep and falling in the dark. Or even by slipping on wet leaves that are on the door steps. There are all kinds of ways you can get injured at your RV’s doorstep. But there are some ways you can help prevent any injuring from occurring.
The first thing is to have a sufficient light source at your door way. Being able to see where you are stepping always helps. I also keep a broom by my RV’s doorway so that I can sweep off anything that might have gotten onto it.
After time your door step could lose its grip from wear and tear. You can buy new grip tape from a hardware store and make the grip brand new on your door step. I do this every other year on my RV, but I use mine full-time so you may not need to do this that often.
If you have slide-outs on your rig, be sure to clear enough space for them to fully extend. You wouldn’t want to jam your slide out at a campsite and have to get it repaired before you get back on the road. Check for trees and any large rocks that may be in the way, and have someone to help look out as you extend your pull outs. And it’s always good to know how long your slide outs actually are so you can measure the space you need.
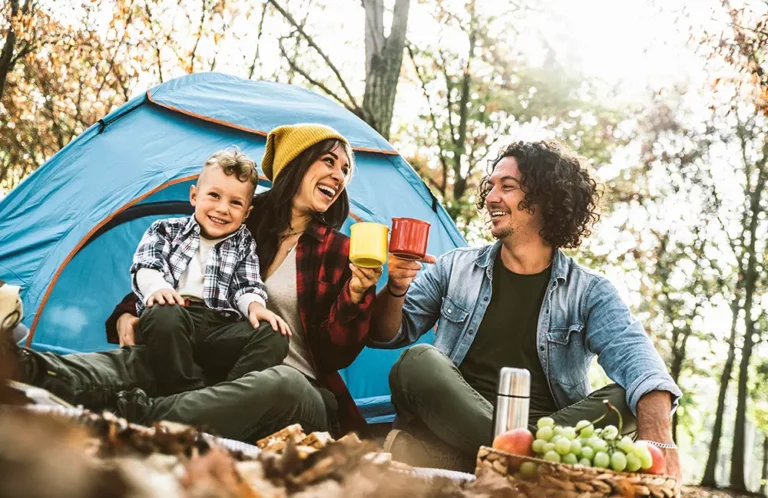
Set Up Your Campsite and Have Fun!
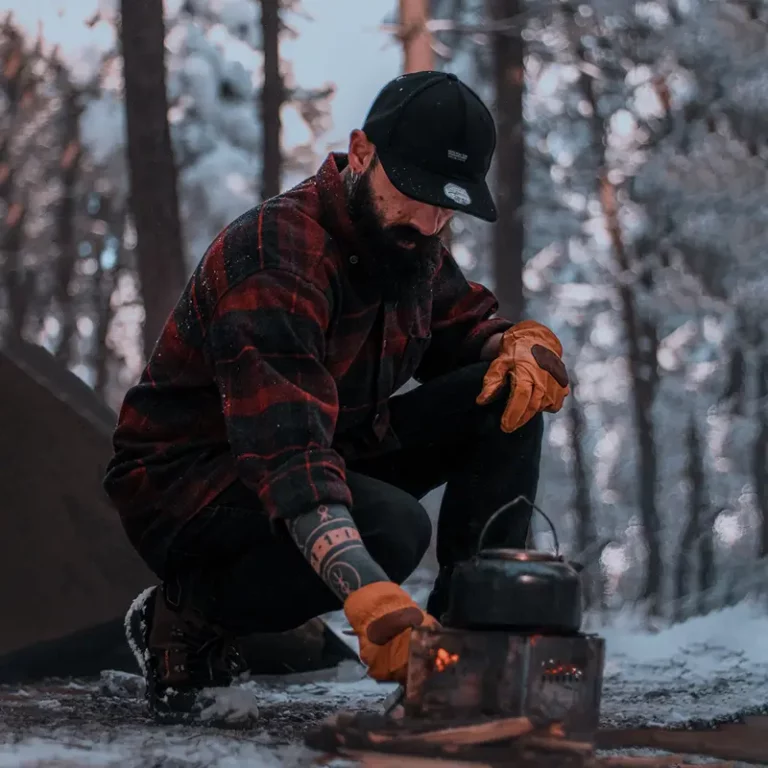
Now your RV is secured in place, safe and has power, water and sewage all connected. Now it’s time to make your campsite home! Open your RV awning, and place out some chairs and tables to have an outdoor seating area. But, be sure to only have your awning out while you’re at your RV. You never know when some high winds can blow through and rip your awning. Now you can create an outdoor cooking area too. Add a grill, and prep station and get some food going after all that hard work or set up the fire pit and make some s’mores!